
DIY Flooring Projects for Installation, Repair, and Maintenance
Floors in our homes do more than just support us; they set the stage for our interior design and daily living. Whether you’re aiming for a fresh look or addressing wear and tear, engaging in DIY flooring projects can be both rewarding and budget-friendly. In this comprehensive guide, we delve into various flooring endeavors, from installation and repair to ongoing maintenance, to help you craft the perfect floors for your home.
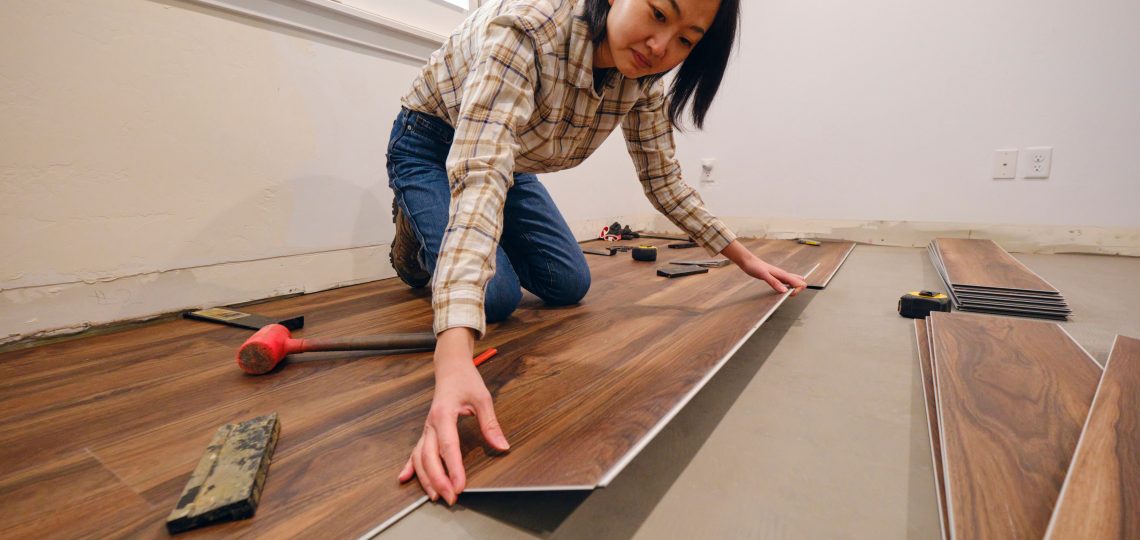
1. Building the Base
Installing new flooring can be a game-changer, elevating the aesthetics of your home. But before you start, it’s crucial to select the right flooring material—be it hardwood, laminate, tile, vinyl, or carpet—and plan meticulously. Here are some essential installation tips to keep in mind:
- Precision Matters: Accurate measurements are key. Take precise measurements of your space and allocate a buffer for any cutting errors.
- Subfloor Prep: Ensure your subfloor is clean, level, and free of debris. A well-prepped subfloor sets the stage for a flawless installation.
- Allow Acclimatization: Certain materials, like hardwood, need time to acclimate to the room’s humidity and temperature before installation.
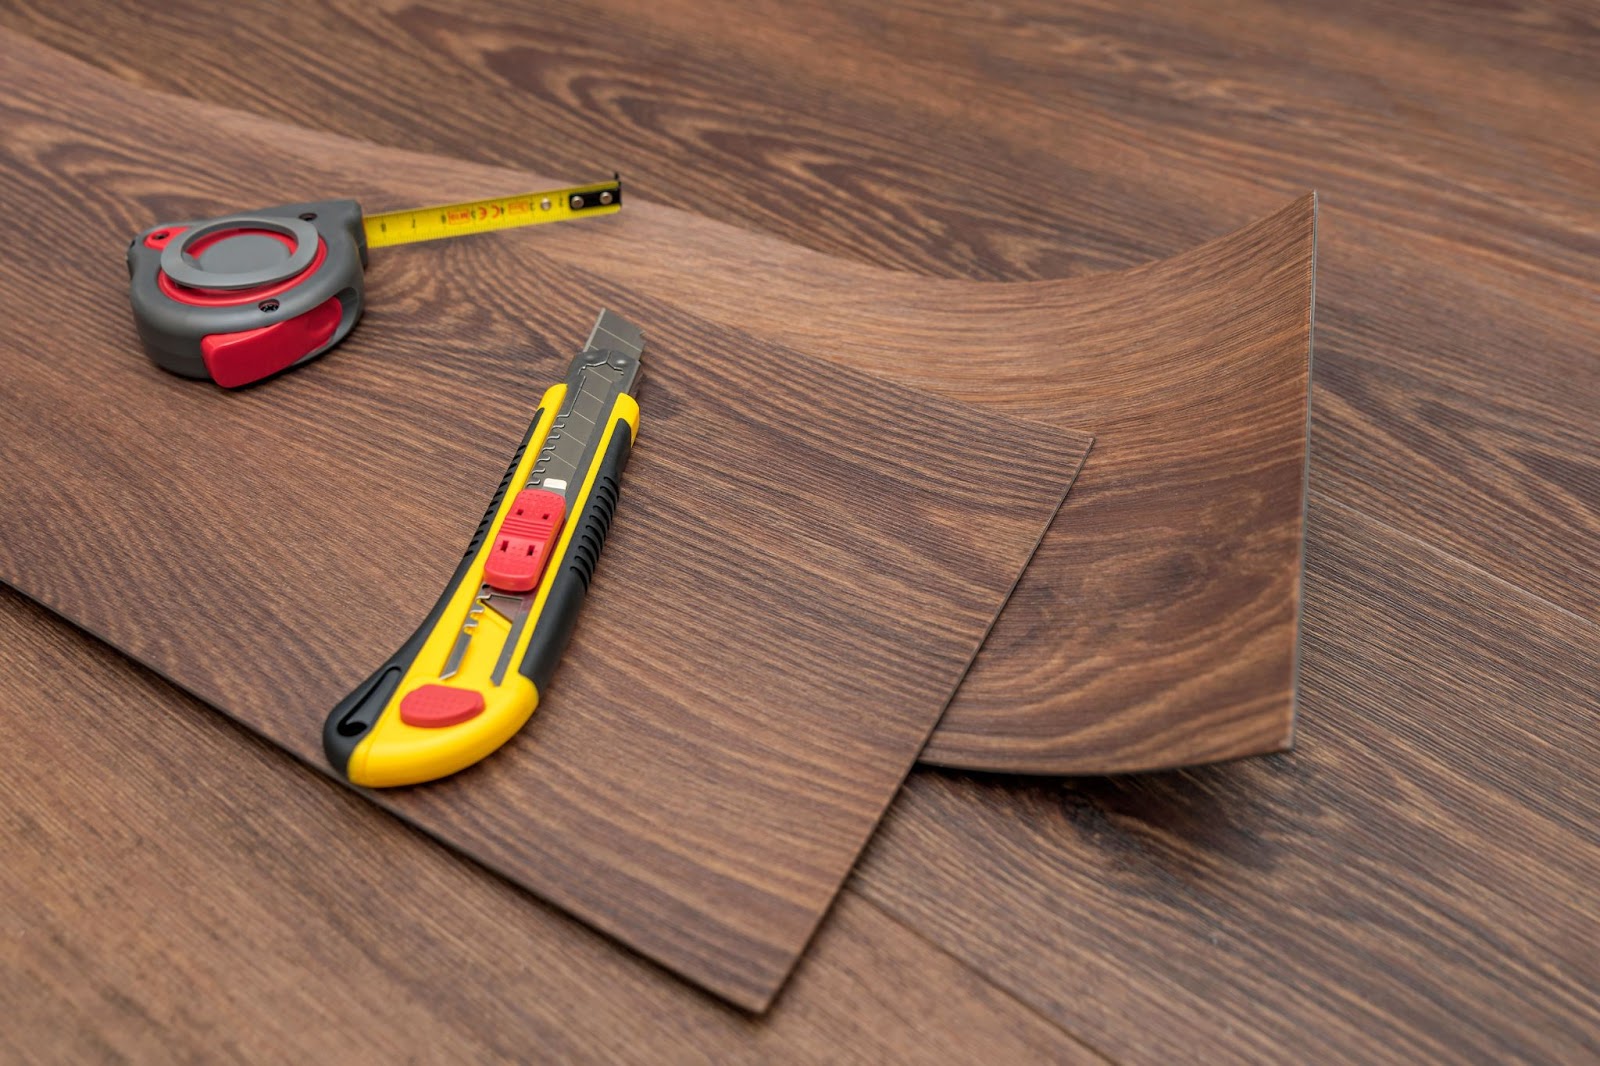
- Invest in Quality Tools: Equip yourself with the right tools—a good saw, spacers, adhesive, and a tapping block—to ensure a smooth process.
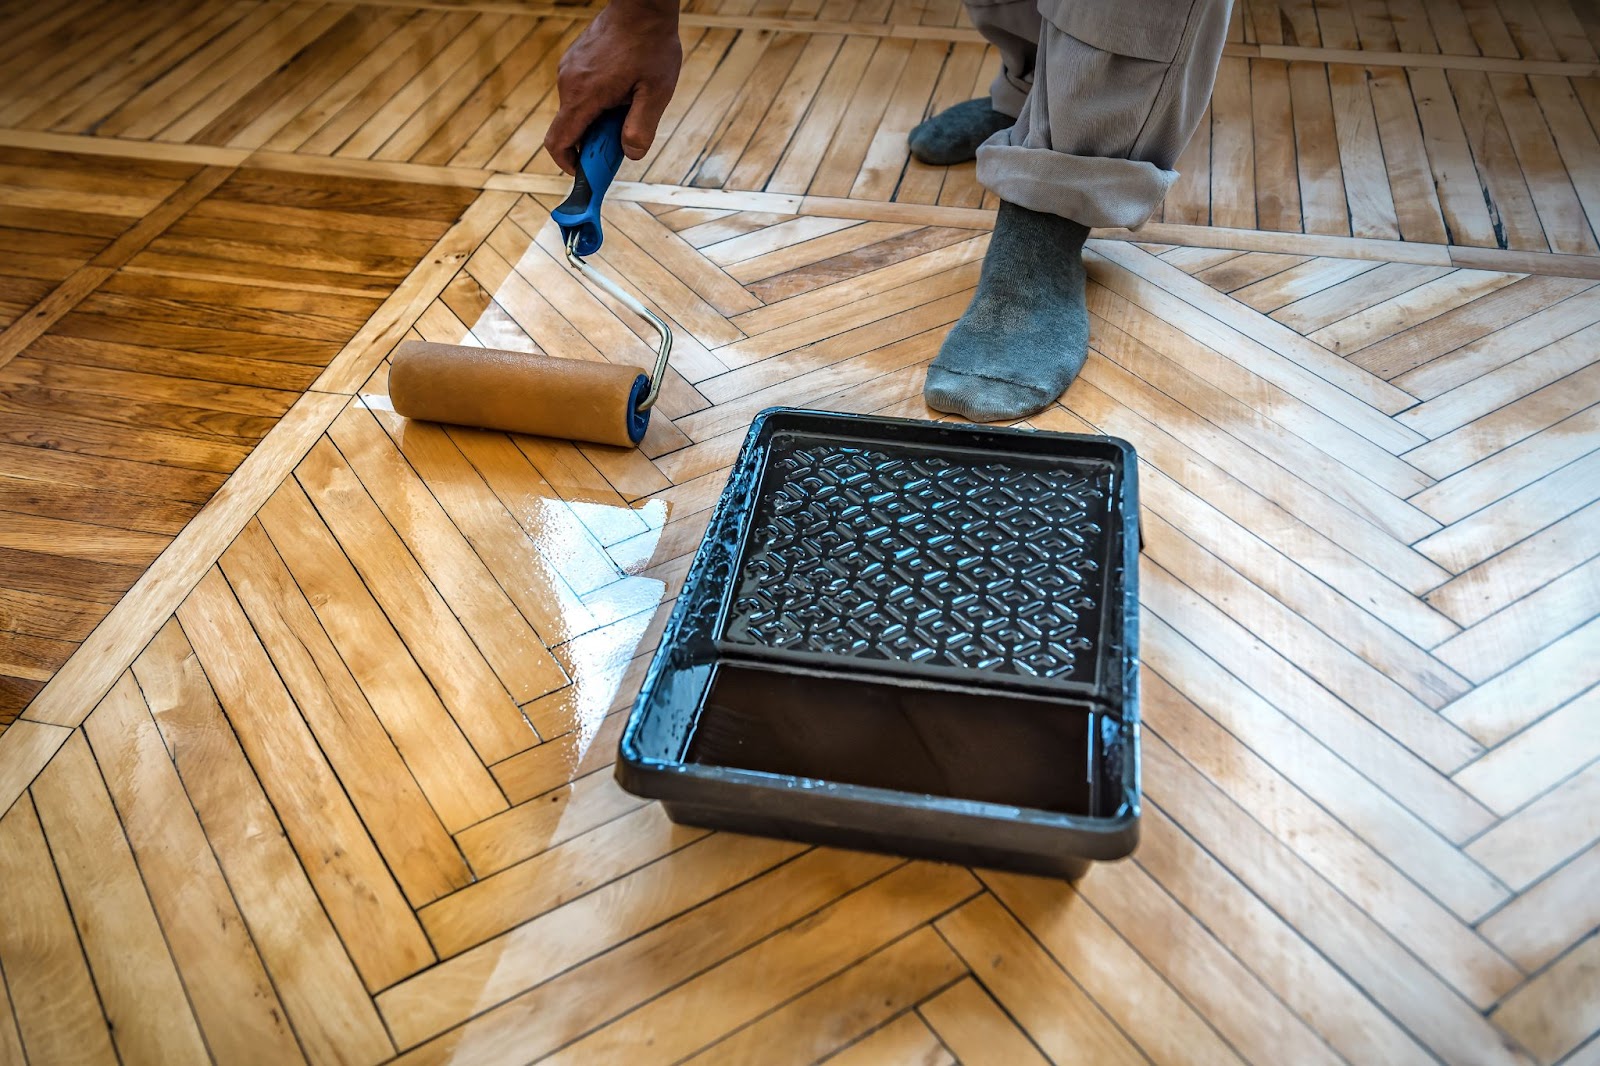
2. Repair and Refinishing Techniques
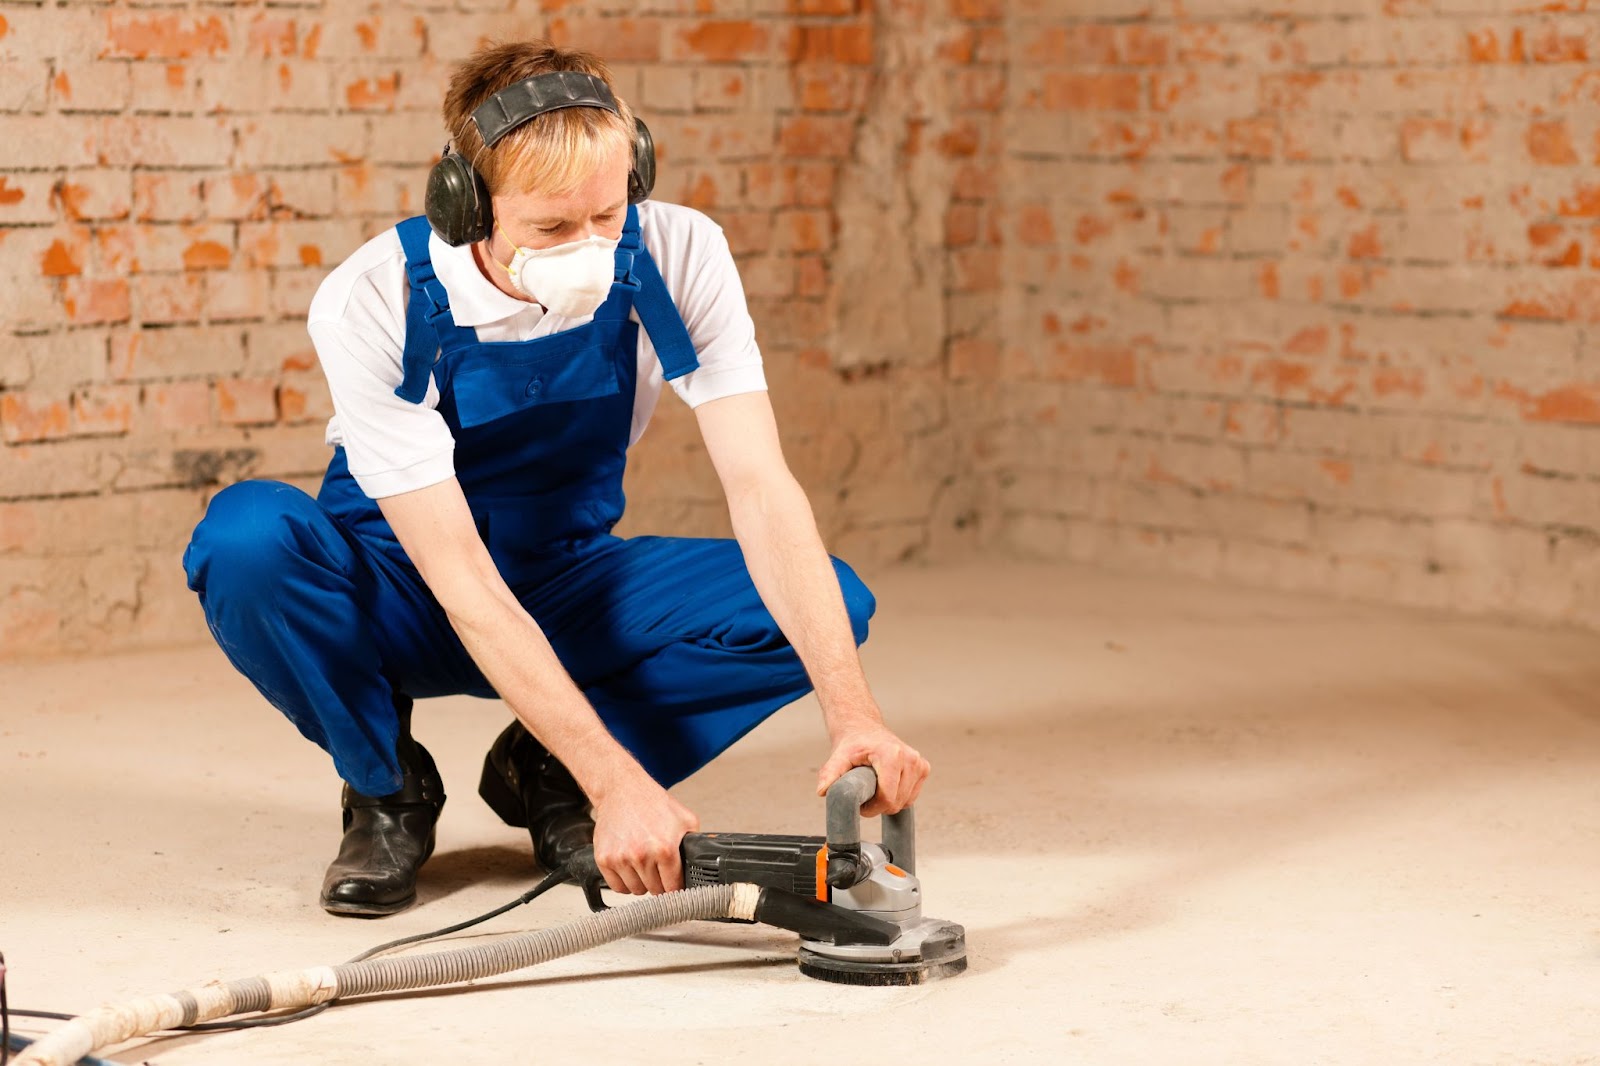
If your existing floors are showing signs of wear or damage, don’t worry—repair and refinishing can breathe new life into them. Take hardwood floors, for example; they can be sanded down to remove scratches and imperfections before receiving a fresh finish. Here’s a basic repair and refinishing process:
- Sanding: Start by sanding the floor to eliminate old finish and imperfections, progressing from coarse to finer grits.
- Staining and Finishing: Apply a stain for a color change, followed by multiple coats of polyurethane or a suitable finish. Ensure each coat dries thoroughly before proceeding.
3. Maintenance Musts
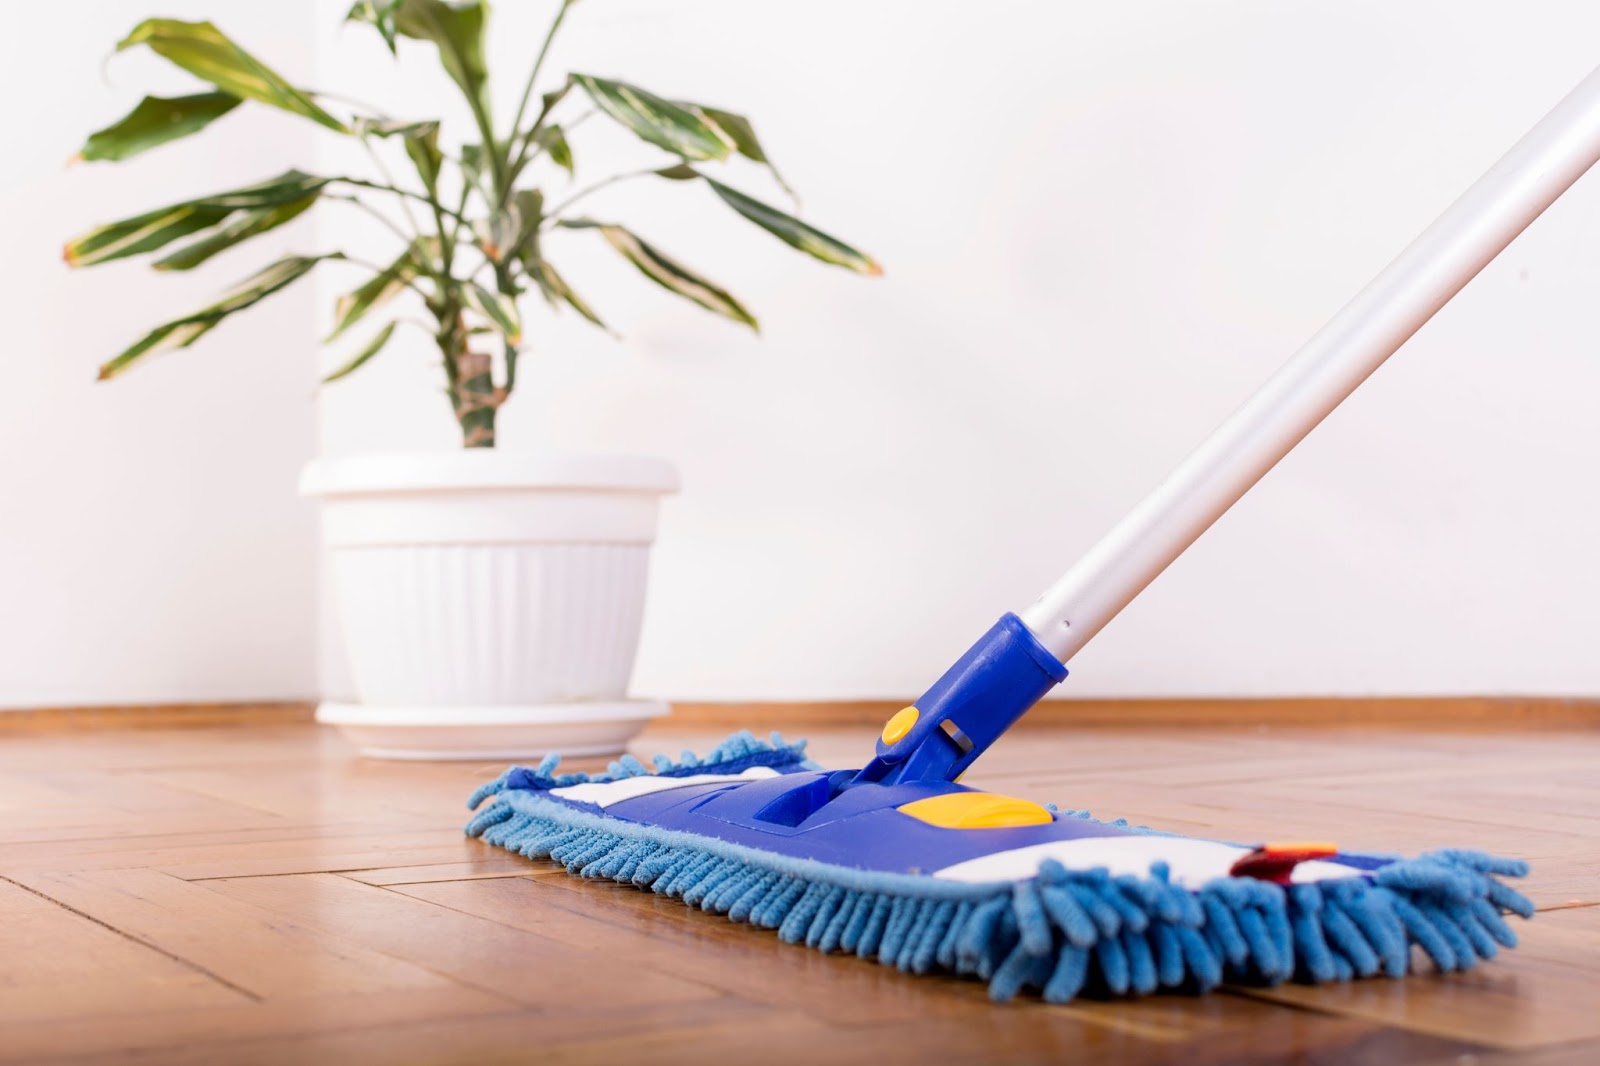
Preserving the beauty and longevity of your floors requires regular upkeep. Different flooring types have distinct care needs, so adhere to manufacturer recommendations. Here are some general maintenance tips:
- Keep It Clean: Sweep, vacuum, or mop your floors regularly to prevent scratches from dirt and debris.
- Area Rugs and Mats: Place rugs and mats strategically in high-traffic areas and entryways to minimize wear and tear.
- Furniture Pads: Attach felt or rubber pads to furniture legs to prevent scratches and dents.
- Spill Vigilance: Promptly clean up spills to prevent staining and water damage.
4. Painted and Stenciled Floors
For a creative and budget-friendly flooring update, consider painting or stenciling your floors. This DIY project lets you infuse unique patterns, colors, and designs, instantly refreshing the room’s ambiance. Here’s how to get started:
- Prep Work: Clean and sand the existing floor to create a smooth canvas for painting or stenciling.
- Prime Time: Apply a high-quality primer to ensure proper paint adhesion.
- Paint or Stencil: Use durable floor paint or specialized stencils to apply your desired design, allowing adequate drying time between coats.
5. Peel-and-Stick Tiles
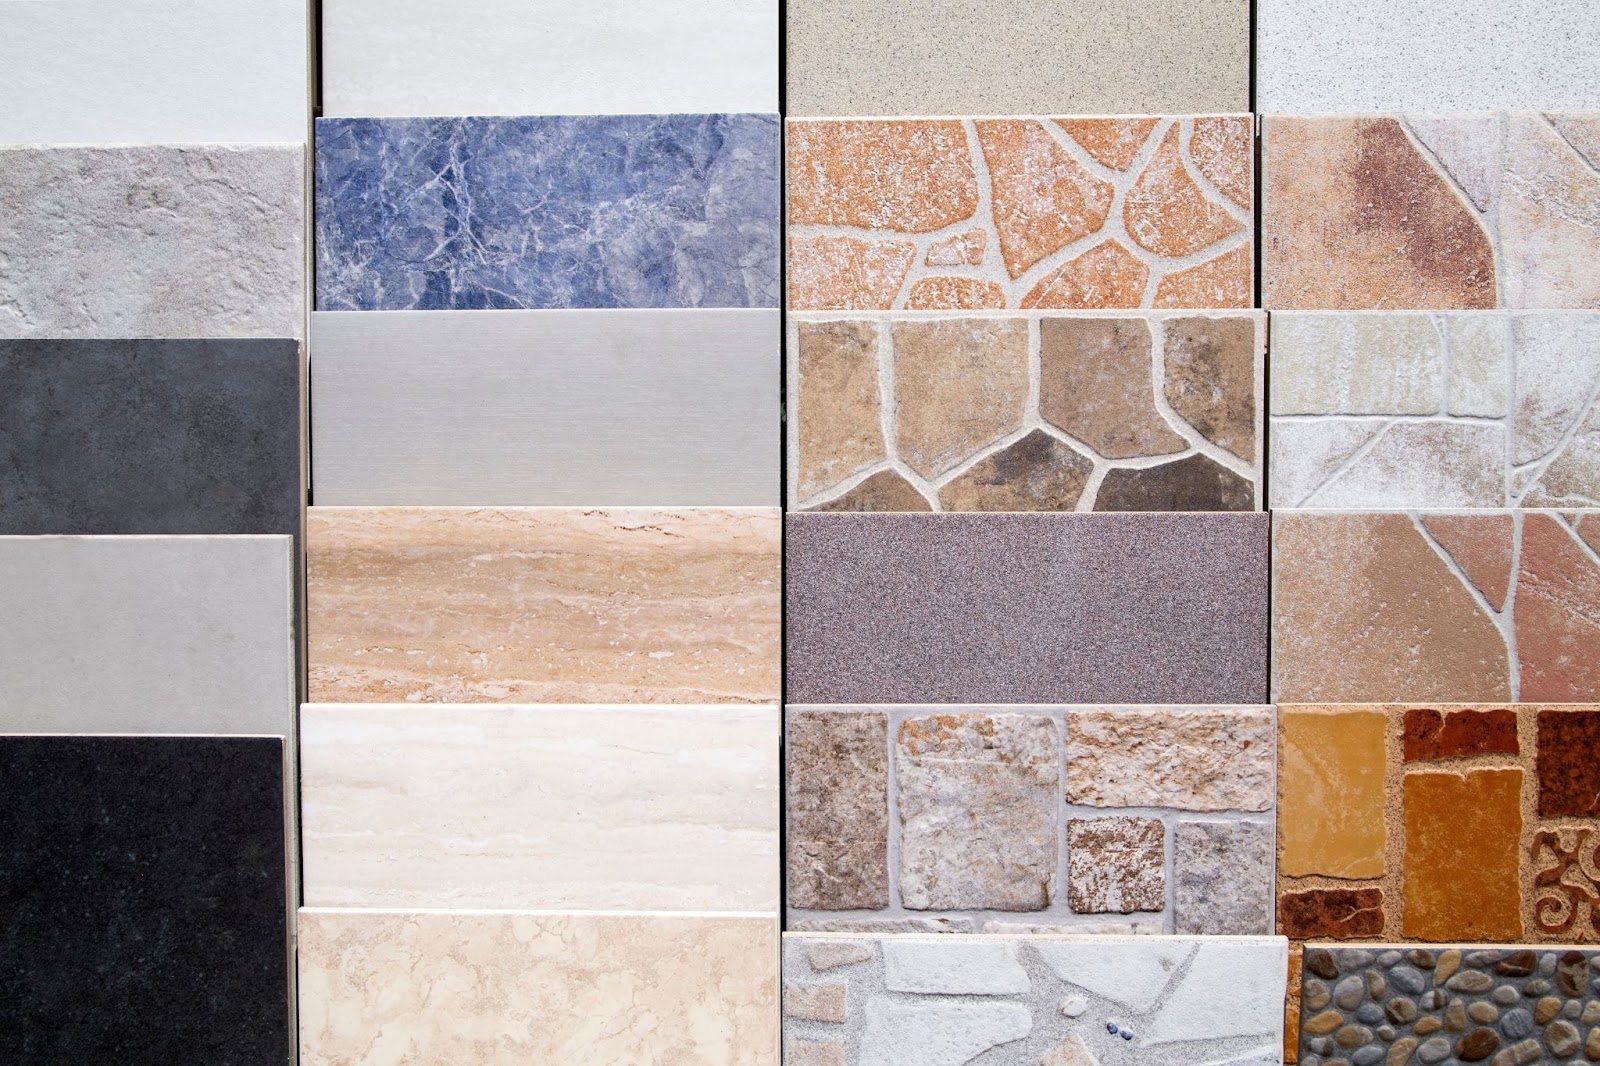
Peel-and-stick tiles offer an excellent option for DIY flooring enthusiasts seeking a floor upgrade without a major overhaul. Available in various patterns and materials, these tiles make it easy to achieve your desired look. Here’s how to install them:
- Clean and Prep: Ensure the floor is clean and debris-free. Remove any loose tiles or damaged areas.
- Layout and Cutting: Plan your tile layout, starting from the room’s center, and trim tiles to fit using a utility knife or tile cutter.
- Peel and Stick: Remove the tile backing and firmly press them onto the floor, using a roller for proper adhesion.
Whether you’re embarking on a complete flooring overhaul or a simple refresh, DIY flooring projects offer endless possibilities. From installation to repair and maintenance, these endeavors empower you to create floors that mirror your style and enhance your home’s comfort and beauty. Remember to plan meticulously, research thoroughly, and take your time to achieve breathtaking results that will last for years to come.