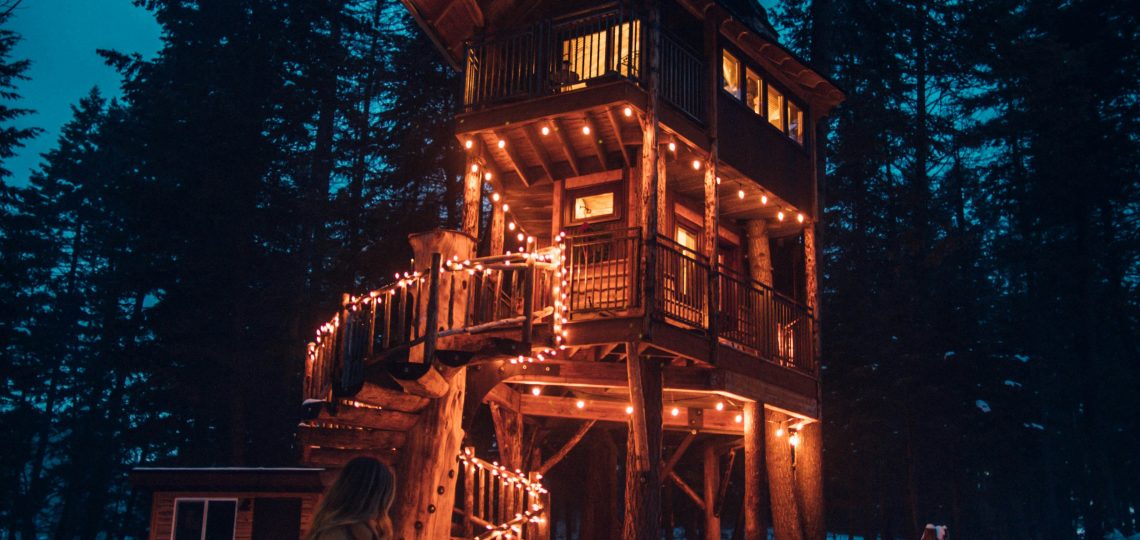
Crafting Childhood Dreams: A Comprehensive Guide to Building a Treehouse for Your Kids With Essential Hardware Tools
There’s something magical about a treehouse that sparks joy and adventure in the hearts of children. It’s a sanctuary where imaginations run wild, friendships are forged, and memories are made. If you’ve ever dreamed of creating a special place for your kids to explore and play, building a treehouse might be the perfect project for you. In this guide, we’ll walk you through the process of constructing a safe and sturdy treehouse that will become a cherished part of your family’s story along with what hardware tools are needed.
Now, before starting, always make sure to always consult with a professional and adhere to any municipal laws before building! Safety always comes first!
Step 1: Planning and Preparation
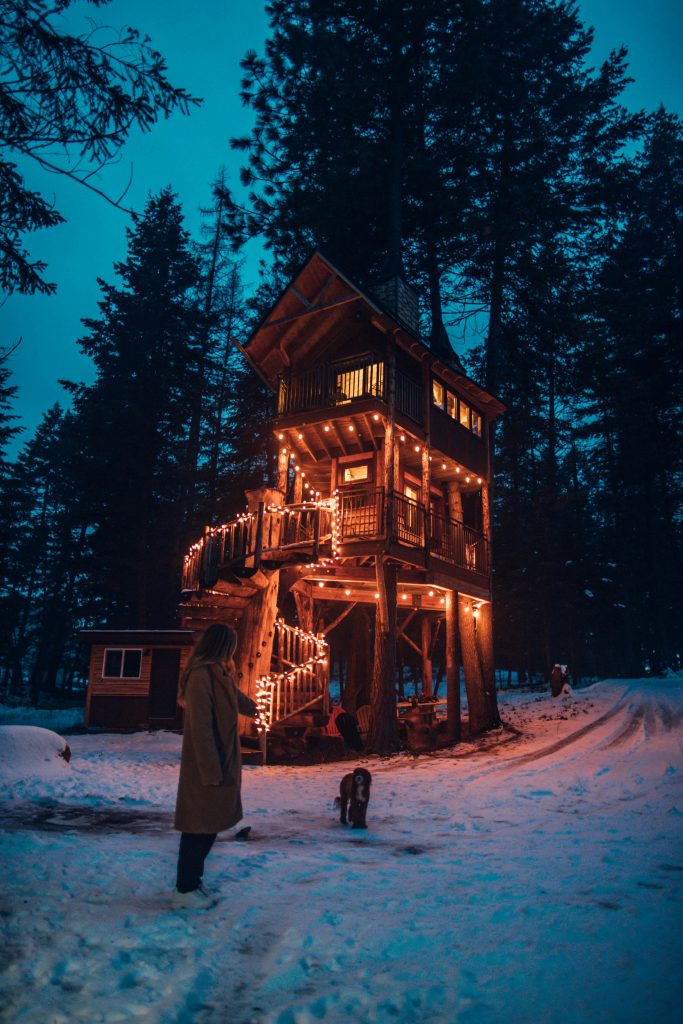
Before you start hammering nails into trees, it’s essential to carefully plan your treehouse project. Begin by selecting a suitable tree or trees for your structure. Look for healthy, sturdy trees with branches strong enough to support the weight of a treehouse. Consider factors such as the tree’s species, size, and proximity to your home.
Next, decide on the size and design of your treehouse. Will it be a cozy hideaway or a sprawling fortress in the sky? Sketch out your ideas and consult with your kids to ensure their input is included in the design process.
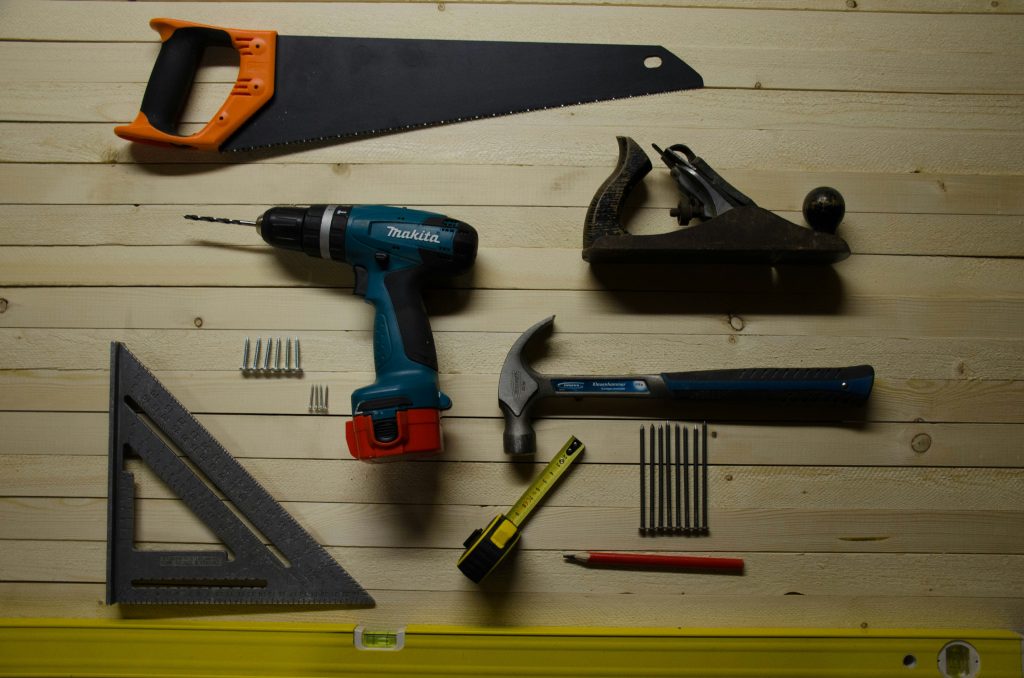
Once you have a clear vision for your treehouse, gather the necessary materials and tools. Here’s a list of hardware tools you’ll likely need:
Hardware Tools:
Step 2: Building the Foundation
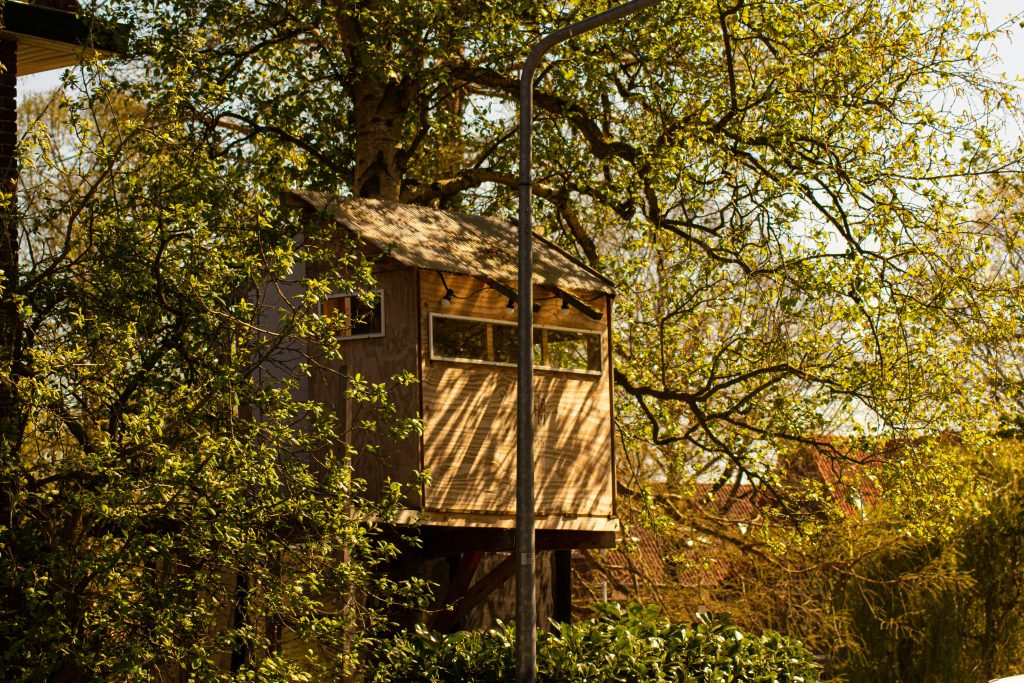
The foundation is the backbone of your treehouse, providing stability and support. Begin by constructing a sturdy platform using pressure-treated lumber. Measure and cut the boards to size, then use screws to secure them together.
Next, attach support beams to the platform and anchor them to the tree using heavy-duty lag screws. Be sure to leave enough space between the beams and the tree to allow for growth and movement.
Once the platform is in place, use a level to ensure it’s perfectly horizontal. This will prevent your treehouse from leaning or sagging over time.
Step 3: Framing the Structure

With the foundation in place, it’s time to frame the walls and roof of your treehouse. Cut the framing lumber to size and assemble the walls on the ground before lifting them into position.
Use a combination of nails and screws to secure the framing members together, ensuring they’re sturdy enough to withstand years of play. Be sure to leave openings for windows and doors, and consider adding extra bracing for added stability.
Once the walls are in place, frame the roof using rafters and decking boards. Again, use screws to secure everything together, making sure to overlap the edges for added strength.
Step 4: Adding Finishing Touches
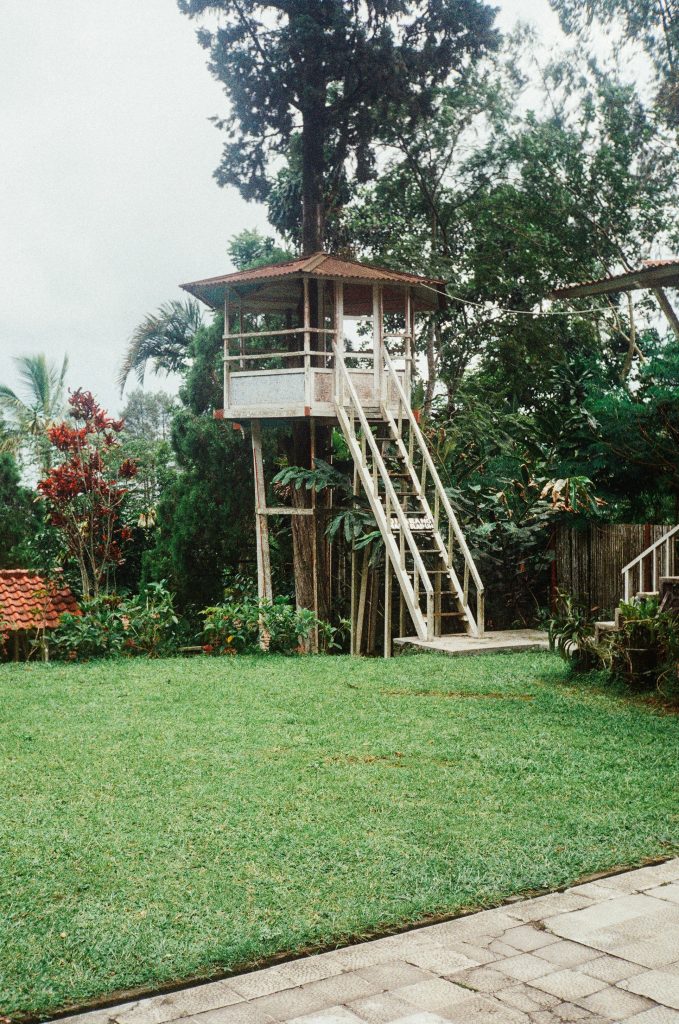
With the structure of your treehouse complete, it’s time to add the finishing touches that will make it feel like home. Install windows and doors to let in natural light and provide easy access for your kids.
Consider adding amenities such as a porch, ladder, or rope swing to enhance the playability of your treehouse. Get creative with paint, decorations, and furnishings to personalize the space and make it truly unique.
Finally, take the time to inspect your treehouse for any safety hazards or structural weaknesses. Make any necessary repairs or reinforcements to ensure your kids can enjoy their new play space safely.
Conclusion:
Building a treehouse for your kids is a labor of love that will bring joy and excitement for years to come. By carefully planning and constructing a safe and sturdy structure, you can create a magical retreat where memories are made and imaginations soar. So roll up your sleeves, gather your tools, and get ready to embark on a treehouse adventure that will leave a lasting legacy for your family.
Visit United Providers Of Health for the best health related blogs!
