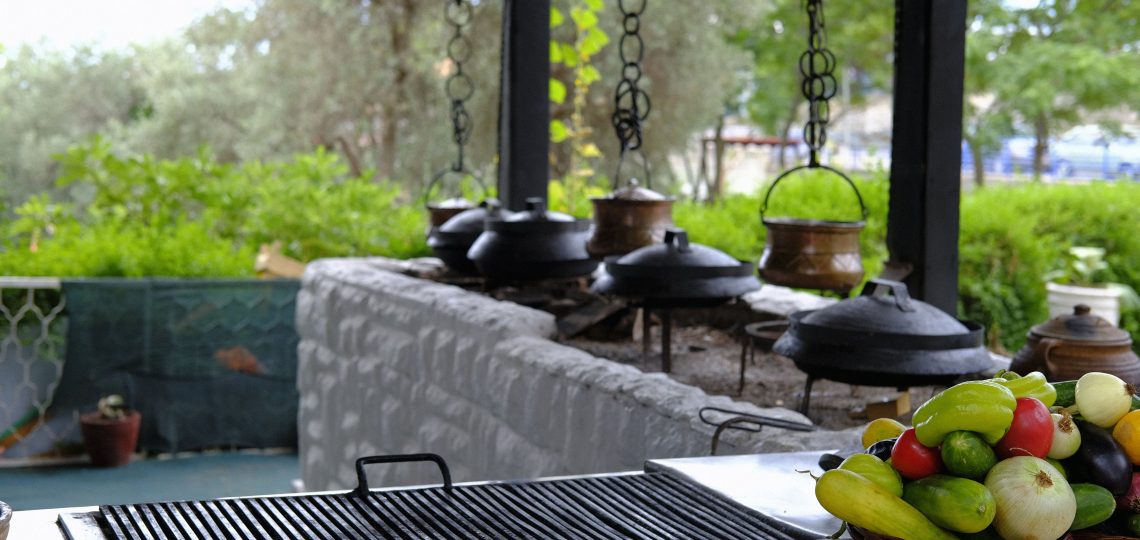
How to Build a DIY Outdoor Barbecue Station
Summer is the season for backyard barbecues and outdoor gatherings. Why not take your grilling game to the next level by building a custom outdoor barbecue station? With a dedicated space for cooking and entertaining, you’ll be the star of every summer party. In this blog, we’ll guide you through the steps to create your own DIY outdoor barbecue station, using materials and tools you can find at Bethel Hardware.
Materials Needed:
Concrete pavers or bricks
Gravel
Cement mix
Wooden posts and beams
Screws and nails
Outdoor countertop material (e.g., granite, concrete, or tile)
Grill insert
Storage cabinets or shelving
Outdoor sink (optional)
Plumbing supplies (for sink installation)
Level
Shovel
Power drill
Saw
Step-by-Step Guide
Step 1: Plan Your Barbecue Station
Before you start, consider the layout and design of your barbecue station. Think about the following:
- Location: Choose a flat, stable area in your backyard with enough space for cooking and entertaining.
- Size: Decide on the dimensions based on your available space and how much cooking and prep area you need.
- Features: Determine if you want additional features like a sink, storage, or a refrigerator.
Step 2: Prepare the Foundation
A solid foundation is crucial for the stability of your barbecue station.
- Clear the area: Remove any grass, weeds, or debris from the site.
- Level the ground: Use a shovel to level the area.
- Lay a gravel base: Spread a layer of gravel about 4 inches deep to provide a stable base.
- Add pavers or bricks: Lay concrete pavers or bricks over the gravel, ensuring they are level and secure.
Step 3: Build the Frame
Construct a sturdy frame to support your countertops and grill.
- Install posts: Dig holes for the wooden posts at the corners of your barbecue station. Secure them with cement mix.
- Add beams: Attach horizontal beams between the posts to create the frame. Ensure everything is level and square.
- Reinforce the structure: Add additional beams or supports as needed for extra stability.
Step 4: Install Countertops and Grill
Your countertops should be durable and heat-resistant.
- Cut the countertop material: Measure and cut your chosen countertop material to fit the frame.
- Secure the countertops: Attach the countertops to the frame using screws or adhesive.
- Install the grill: Place the grill insert into the designated space in your countertop. Follow the manufacturer’s instructions for securing it.
Step 5: Add Storage and Features
Make your barbecue station functional with storage and additional features.
- Install cabinets or shelves: Attach outdoor storage cabinets or build shelves under the countertops for storing grilling tools and supplies.
- Add a sink (optional): If you want a sink, cut a hole in the countertop and install the sink. Connect it to your outdoor plumbing system following local codes and guidelines.
Step 6: Finish and Decorate
Give your barbecue station a polished look.
- Seal the countertops: Apply a sealant to protect the countertops from the elements.
- Paint or stain the wood: Paint or stain the wooden frame to match your outdoor decor.
- Decorate: Add personal touches like hanging lights, potted plants, or outdoor rugs to make the space inviting.
Building a DIY outdoor barbecue station is a rewarding project that can enhance your backyard and make summer gatherings more enjoyable. With the right materials and tools from Bethel Hardware, you can create a custom space that meets your grilling needs and complements your outdoor living area. Visit us today to get started on your barbecue station and make this summer the best one yet!
