
Crafting Your Emergency DIY Kit
In a world of unpredictability, being prepared for emergencies is not just wise; it’s essential. Natural disasters, accidents, or unforeseen circumstances can strike at any moment, leaving you in need of immediate assistance. That’s where having an Emergency DIY Kit comes in handy.
Why You Need an Emergency DIY Kit
Imagine a power outage, a sudden evacuation, or being stranded in your car during a storm. Having a well-equipped emergency kit can make all the difference in such situations. It provides you with the necessary supplies to sustain yourself and your loved ones until help arrives or until you can reach safety.
Building Your Own Emergency DIY Kit
Creating your own emergency kit doesn’t have to be complicated or expensive. With a bit of planning and preparation, you can assemble a comprehensive kit tailored to your specific needs. Here’s a step-by-step guide to get you started:
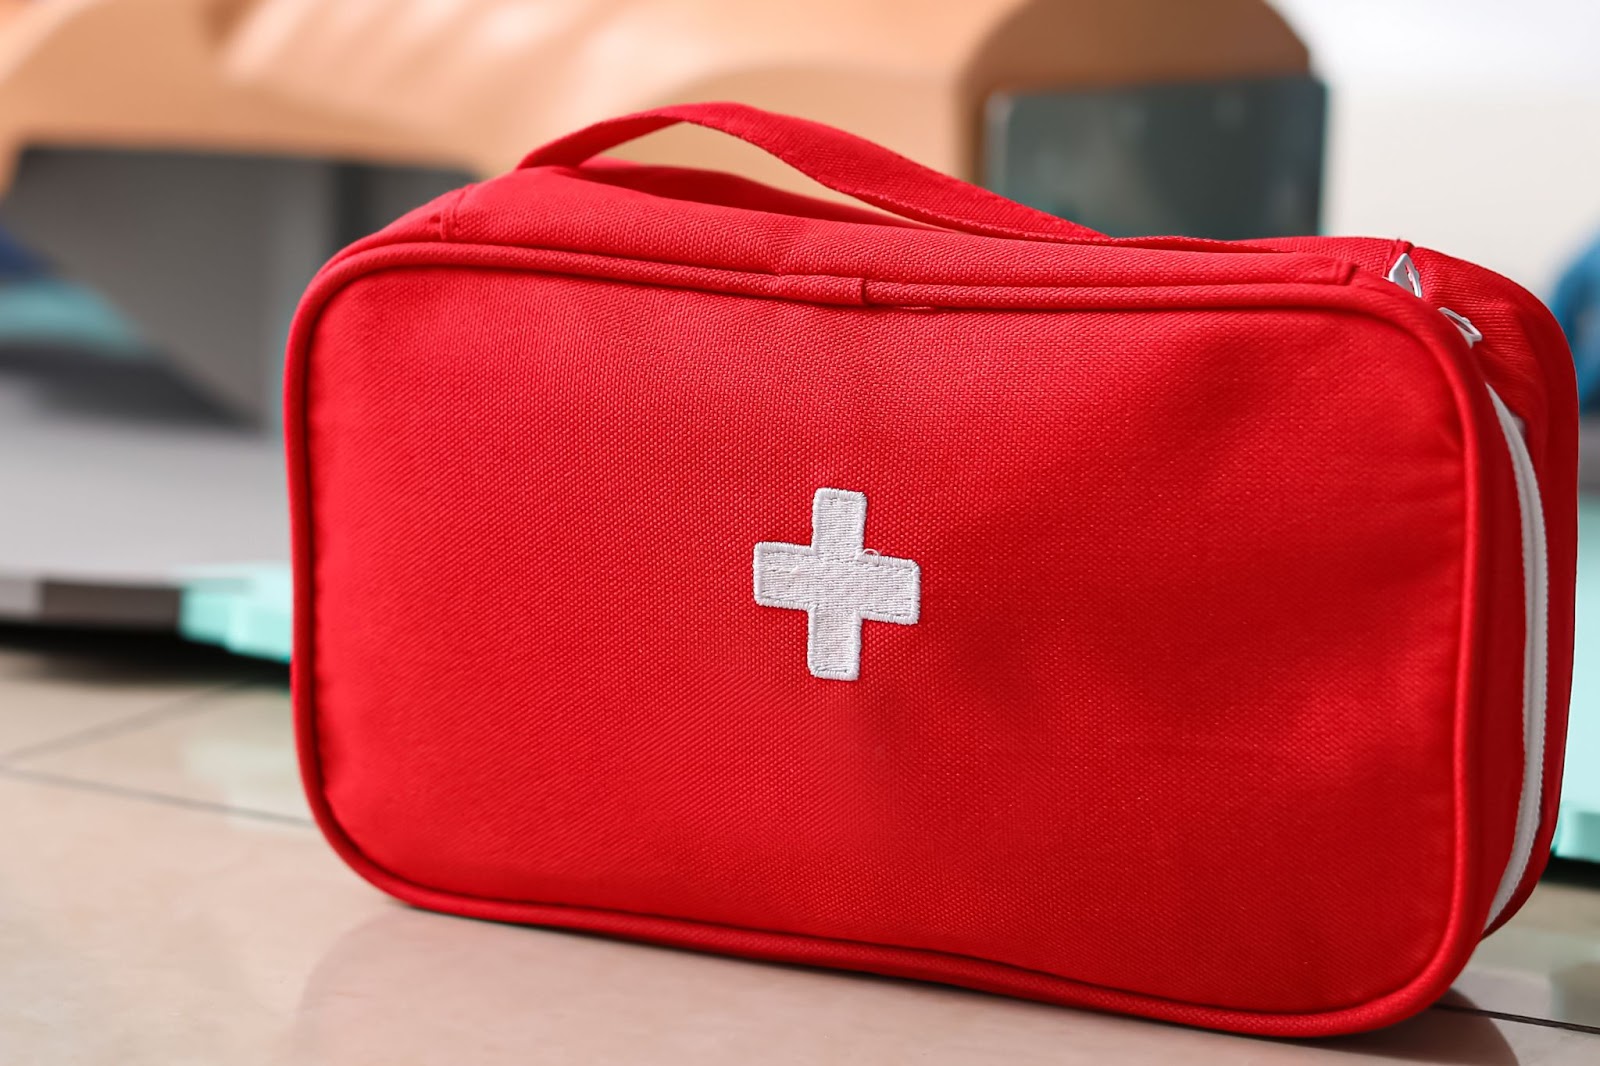
1. Choose the Right Container: Select a sturdy, waterproof container to store your emergency supplies. A backpack, a plastic bin with a tight-fitting lid, or a duffel bag are all good options.
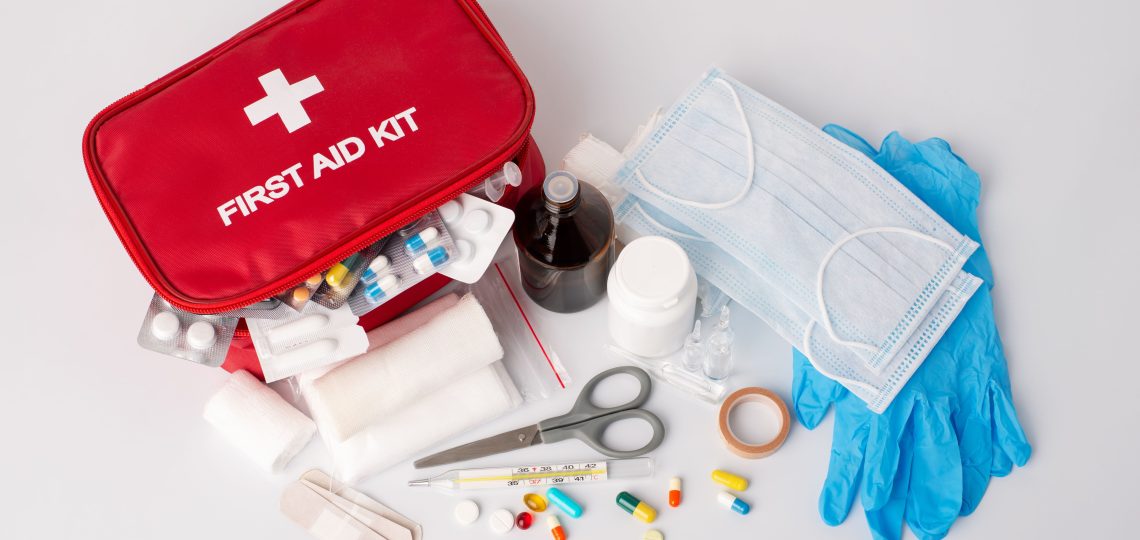
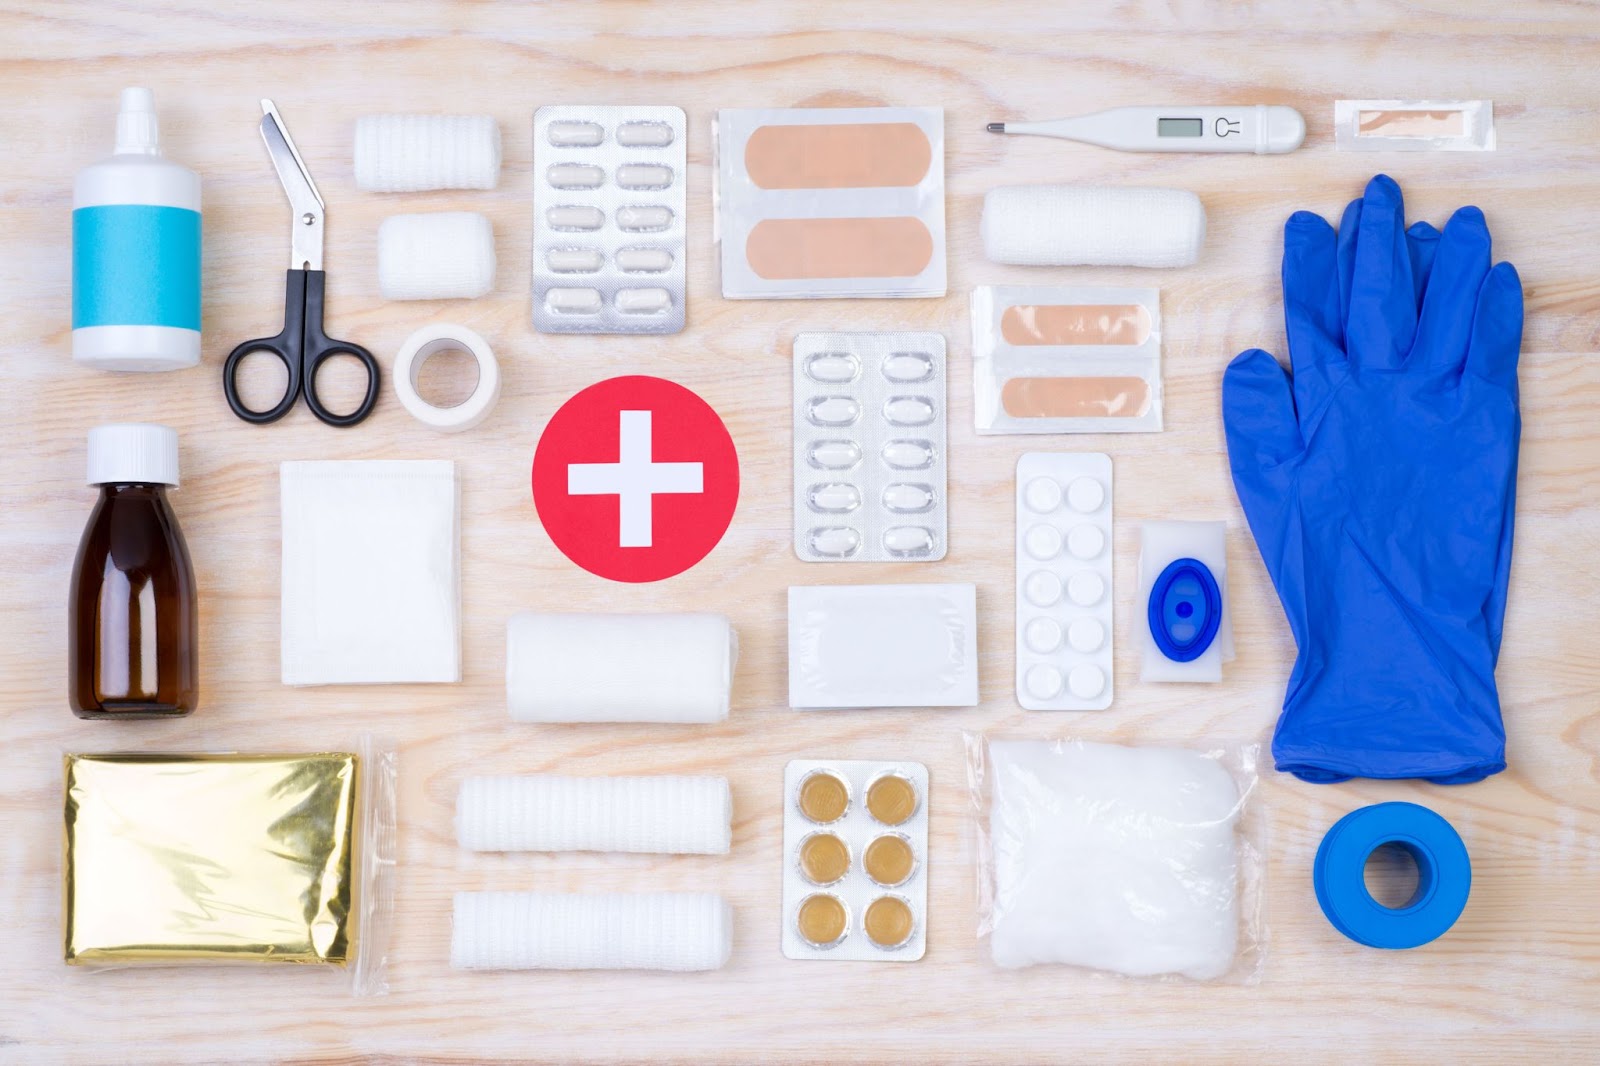
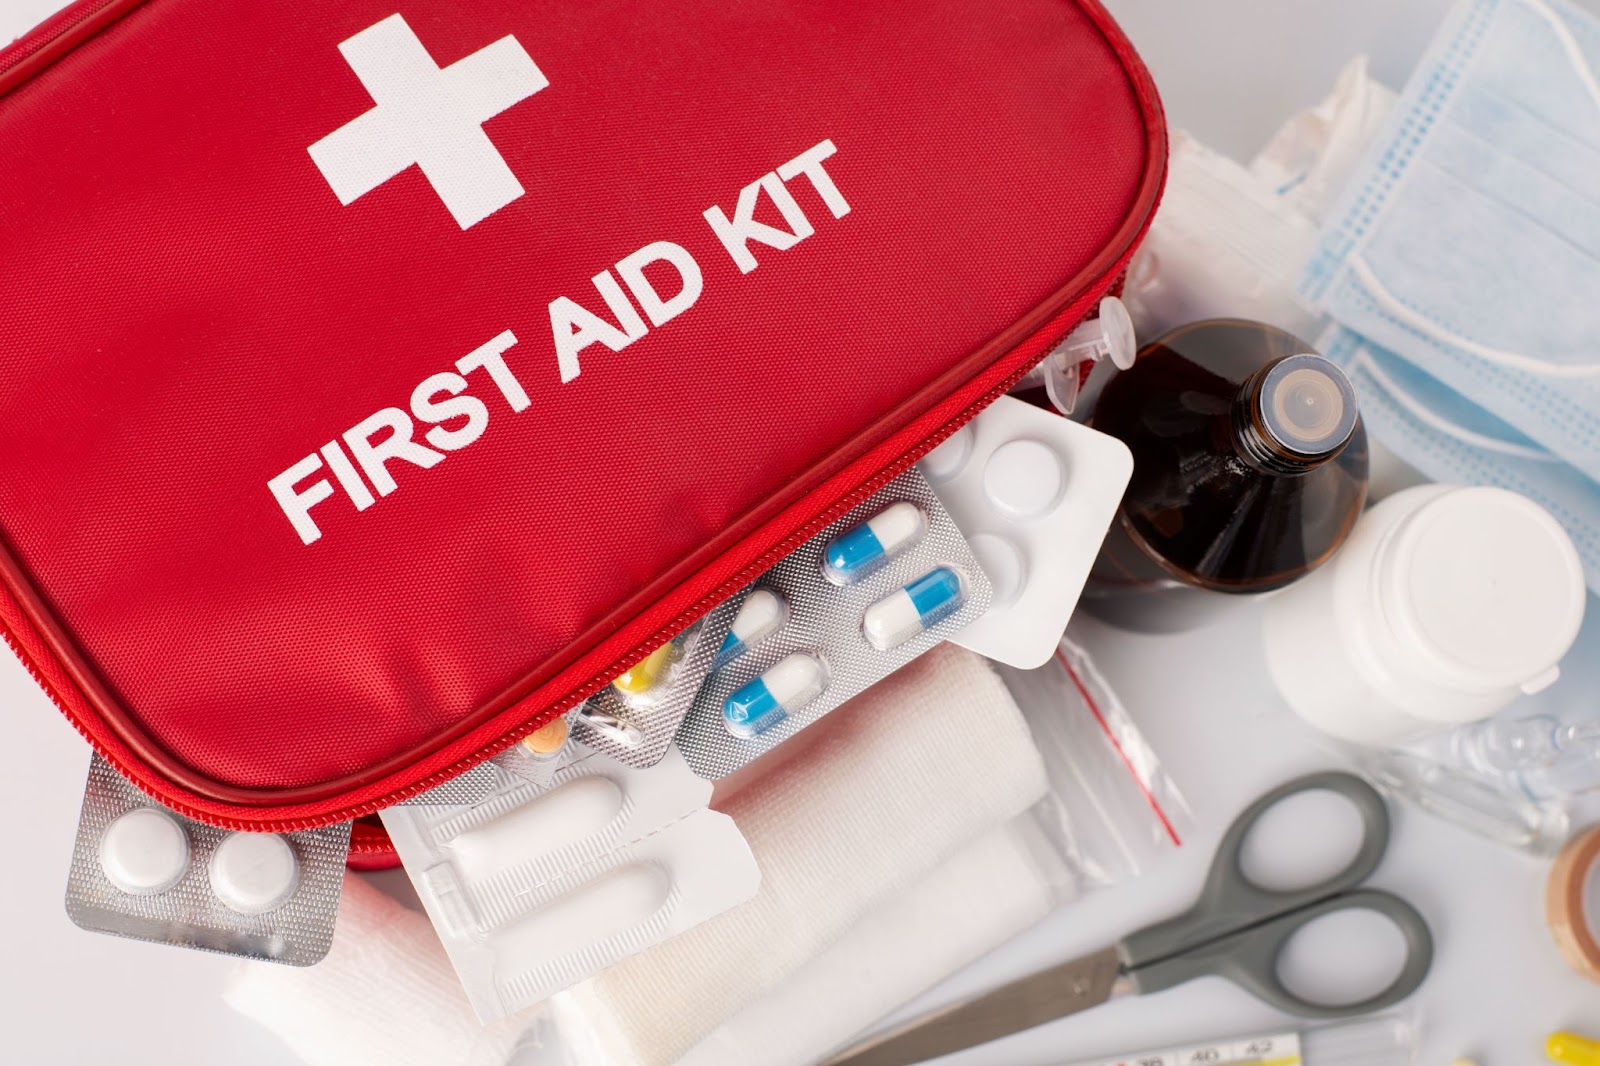
2. Stock Up on Essentials: Your kit should include basic necessities such as water, non-perishable food items, a first-aid kit, and essential medications. Plan for at least three days’ worth of supplies for each person in your household.
3. Light and Communication: Include items such as flashlights, batteries, a portable radio, and a whistle to signal for help if needed. Consider adding a solar-powered or hand-cranked charger for your cell phone.
4. Shelter and Warmth: Pack blankets, warm clothing, sturdy shoes, and a multipurpose tool like a Swiss army knife or a multi-tool. A tarp or emergency tent can also provide shelter in case you need to evacuate or are stranded outdoors.
5. Personal Hygiene and Sanitation: Don’t forget to include hygiene items like wet wipes, hand sanitizer, toothbrushes, and toilet paper. A portable toilet or disposable bags can be useful for sanitation purposes.
6. Important Documents: Keep copies of essential documents such as identification, insurance policies, and emergency contact information in your kit. Consider storing them in a waterproof, sealable bag.
7. Special Needs: If you have infants, elderly family members, or pets, remember to pack supplies specific to their needs, such as baby formula, diapers, medications, or pet food.
8. Customize Your Kit: Tailor your emergency kit to suit your unique circumstances and location. If you live in an area prone to earthquakes, include items such as sturdy gloves, a crowbar, and a dust mask. If you live in a colder climate, pack extra layers of clothing and hand warmers.
Regular Maintenance
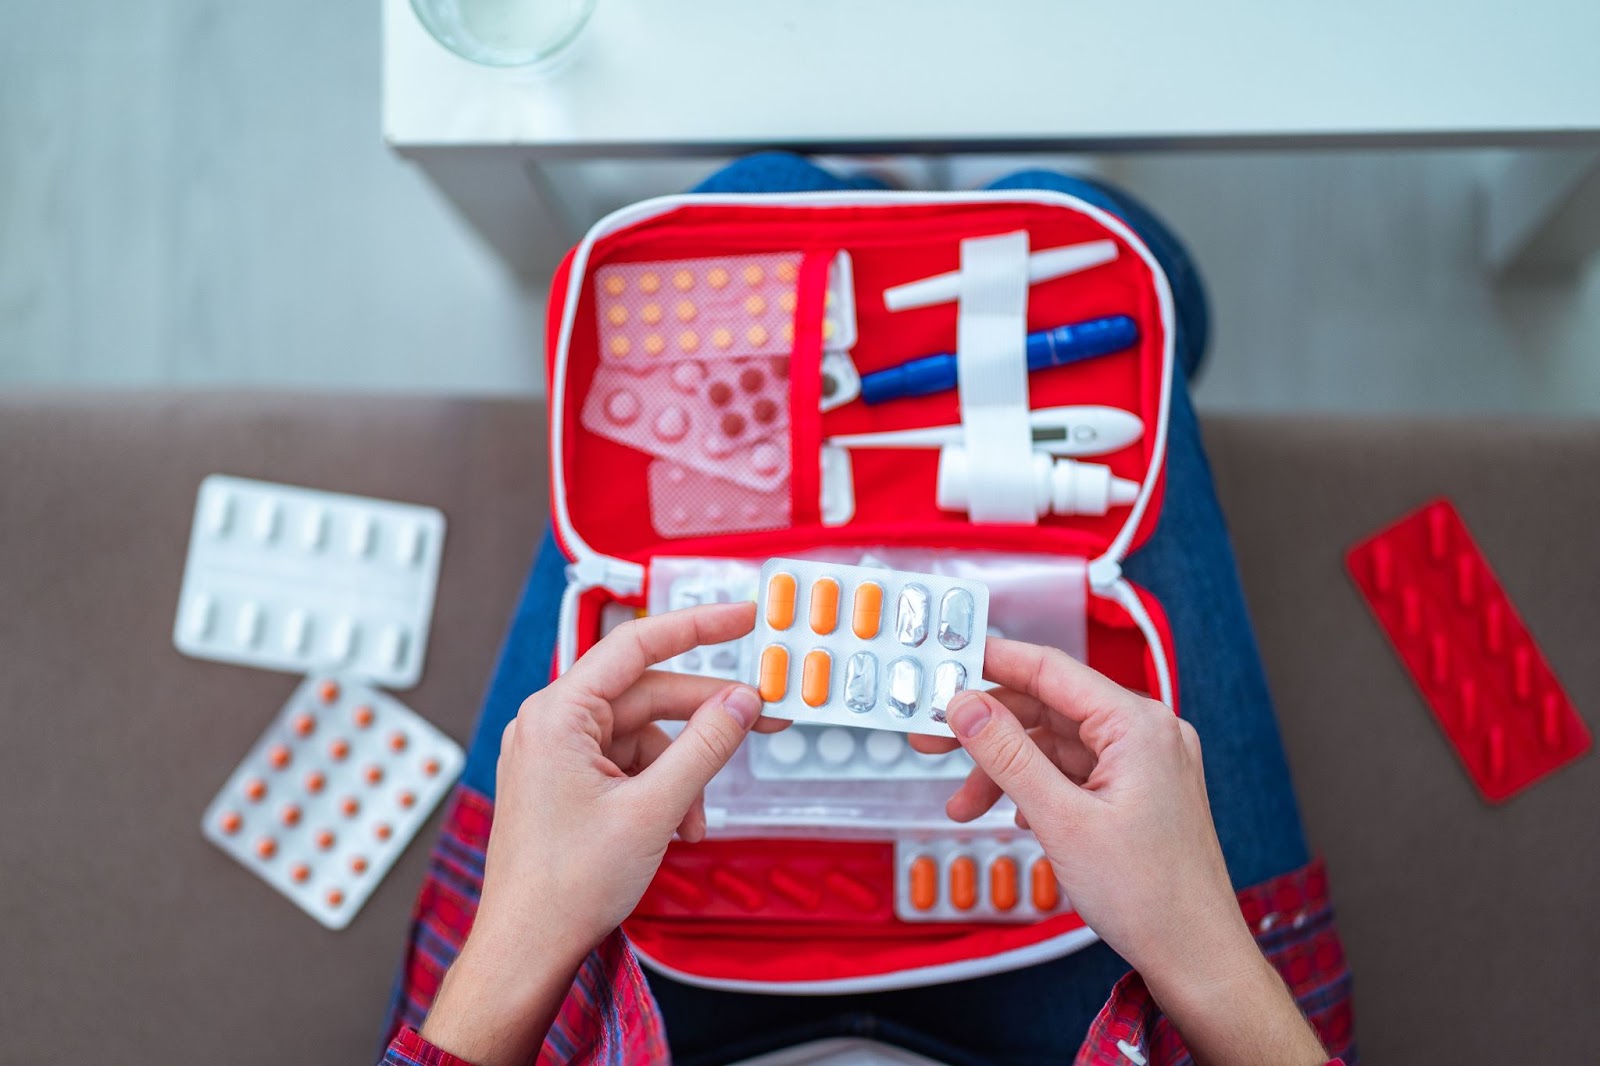
Once you’ve assembled your emergency kit, it’s crucial to regularly check and update its contents. Rotate perishable items, check expiration dates on food and medications, and replace batteries as needed. Review your emergency plan with your family members and ensure everyone knows where the kit is located and how to use its contents.
Conclusion
Preparing for emergencies may seem daunting, but having a well-stocked Emergency DIY Kit can provide peace of mind knowing that you’re ready to handle whatever comes your way. Take the time to assemble your kit today, because when disaster strikes, being prepared can make all the difference. Stay safe, stay prepared!
Ready to get started? Visit our shop for a selection of high-quality emergency supplies and kits to help you stay prepared for any situation. Don’t wait until it’s too late – act now and ensure the safety of yourself and your loved ones. Stay safe, stay prepared!