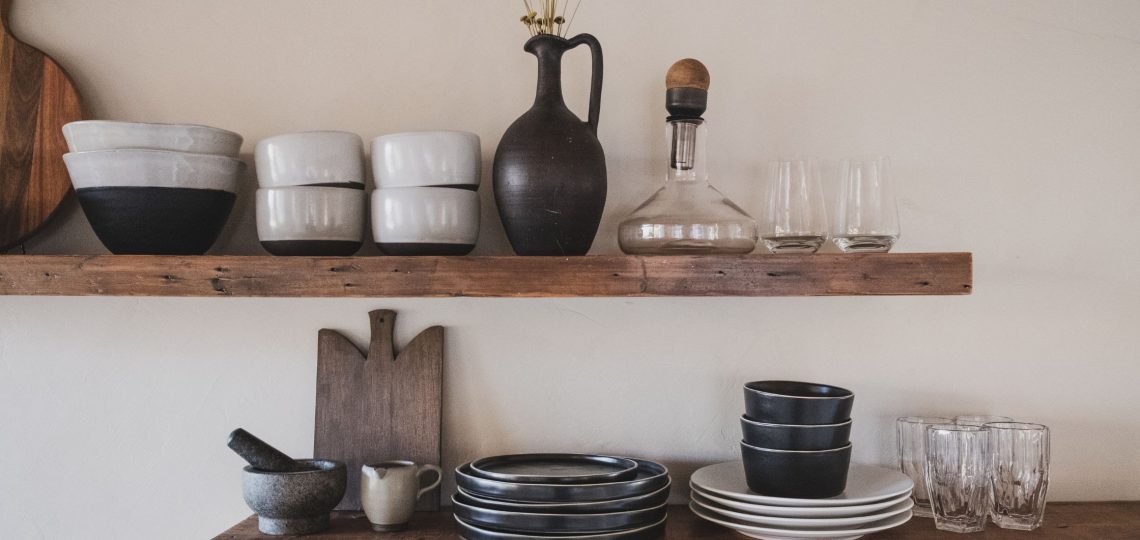
Crafting Custom Hardware Shelving and Cabinets for Your Space
When it comes to optimizing your home’s storage and organization, one-size-fits-all solutions often fall short. This is where the magic of custom shelving and cabinets comes into play! Designing and building your own storage units allows you to create functional and stylish pieces that seamlessly fit your unique space, needs, and style. This guide will take you through the generic process of crafting custom hardware shelving and cabinets for your space.
Planning and Design
Before you pick up any tools, take the time to carefully plan and design your custom shelving and cabinets. Think about their intended use – whether it’s for books, decor, electronics, or kitchen supplies. Measure your available space, considering height, width, and depth. Choose the right materials that match your design and budget and decide on the style and finish that will best suit your space and personal taste. Your design will also impact your choice of hardware and finishing touches.
Gathering Materials and Tools: Ready, Set, Go!
With a design in mind, gather all the materials and tools you’ll need. This includes the wood or materials you’ve chosen, screws, nails, brackets, hinges, paint or finish, and any decorative elements. Don’t forget the essential tools, such as measuring tape, saw (either a circular saw or miter saw), drill/driver, level, square, clamps, sandpaper, wood glue, and safety equipment.
Bringing Your Vision to Life
Now, it’s time to start building! Use your saw to cut the wood into pieces according to your measurements. Assemble the pieces following your design, securing joints and connections using wood glue and screws or nails. If you’re building shelving units, attach the shelves using brackets, adjustable shelf pins, or dado joints. For cabinets, assemble the cabinet boxes and attach doors using hinges. You can also consider adding knobs or handles for an easier grip.
Finishing Touches
After construction, ensure your creation looks professional and polished by sanding any rough edges or surfaces. This step is crucial for achieving a sleek appearance. Once you’re done sanding, apply your chosen finish, whether it’s paint, stain, or a protective sealant. Allow the finish to dry completely before moving on.
Installation Process
With your custom shelving or cabinets complete, it’s time to install them in your space. Determine the best spot based on your design and room layout. Securely attach the units to the wall using appropriate hardware, ensuring they are level and properly anchored.
Organize and Enjoy!
Now that your custom shelving and cabinets are in place, it’s time to organize and decorate. Use storage baskets and bins to keep your items organized and accessible. Arrange decor, books, or other items to reflect your style and personality. Make the most of your custom units by using them to streamline and simplify your daily routines.
Creating custom shelving and cabinets can be a rewarding DIY project that enhances your space’s functionality and adds a personal touch to your home. With careful planning, precise construction, and attention to detail, you can create storage solutions tailored to your needs that seamlessly integrate into your living environment. Roll up your sleeves, let your creativity flow, and embark on the journey of building custom storage that truly elevates your space!
